


Byron F15c Project
 12-06-2019, 05:12 PM
#151


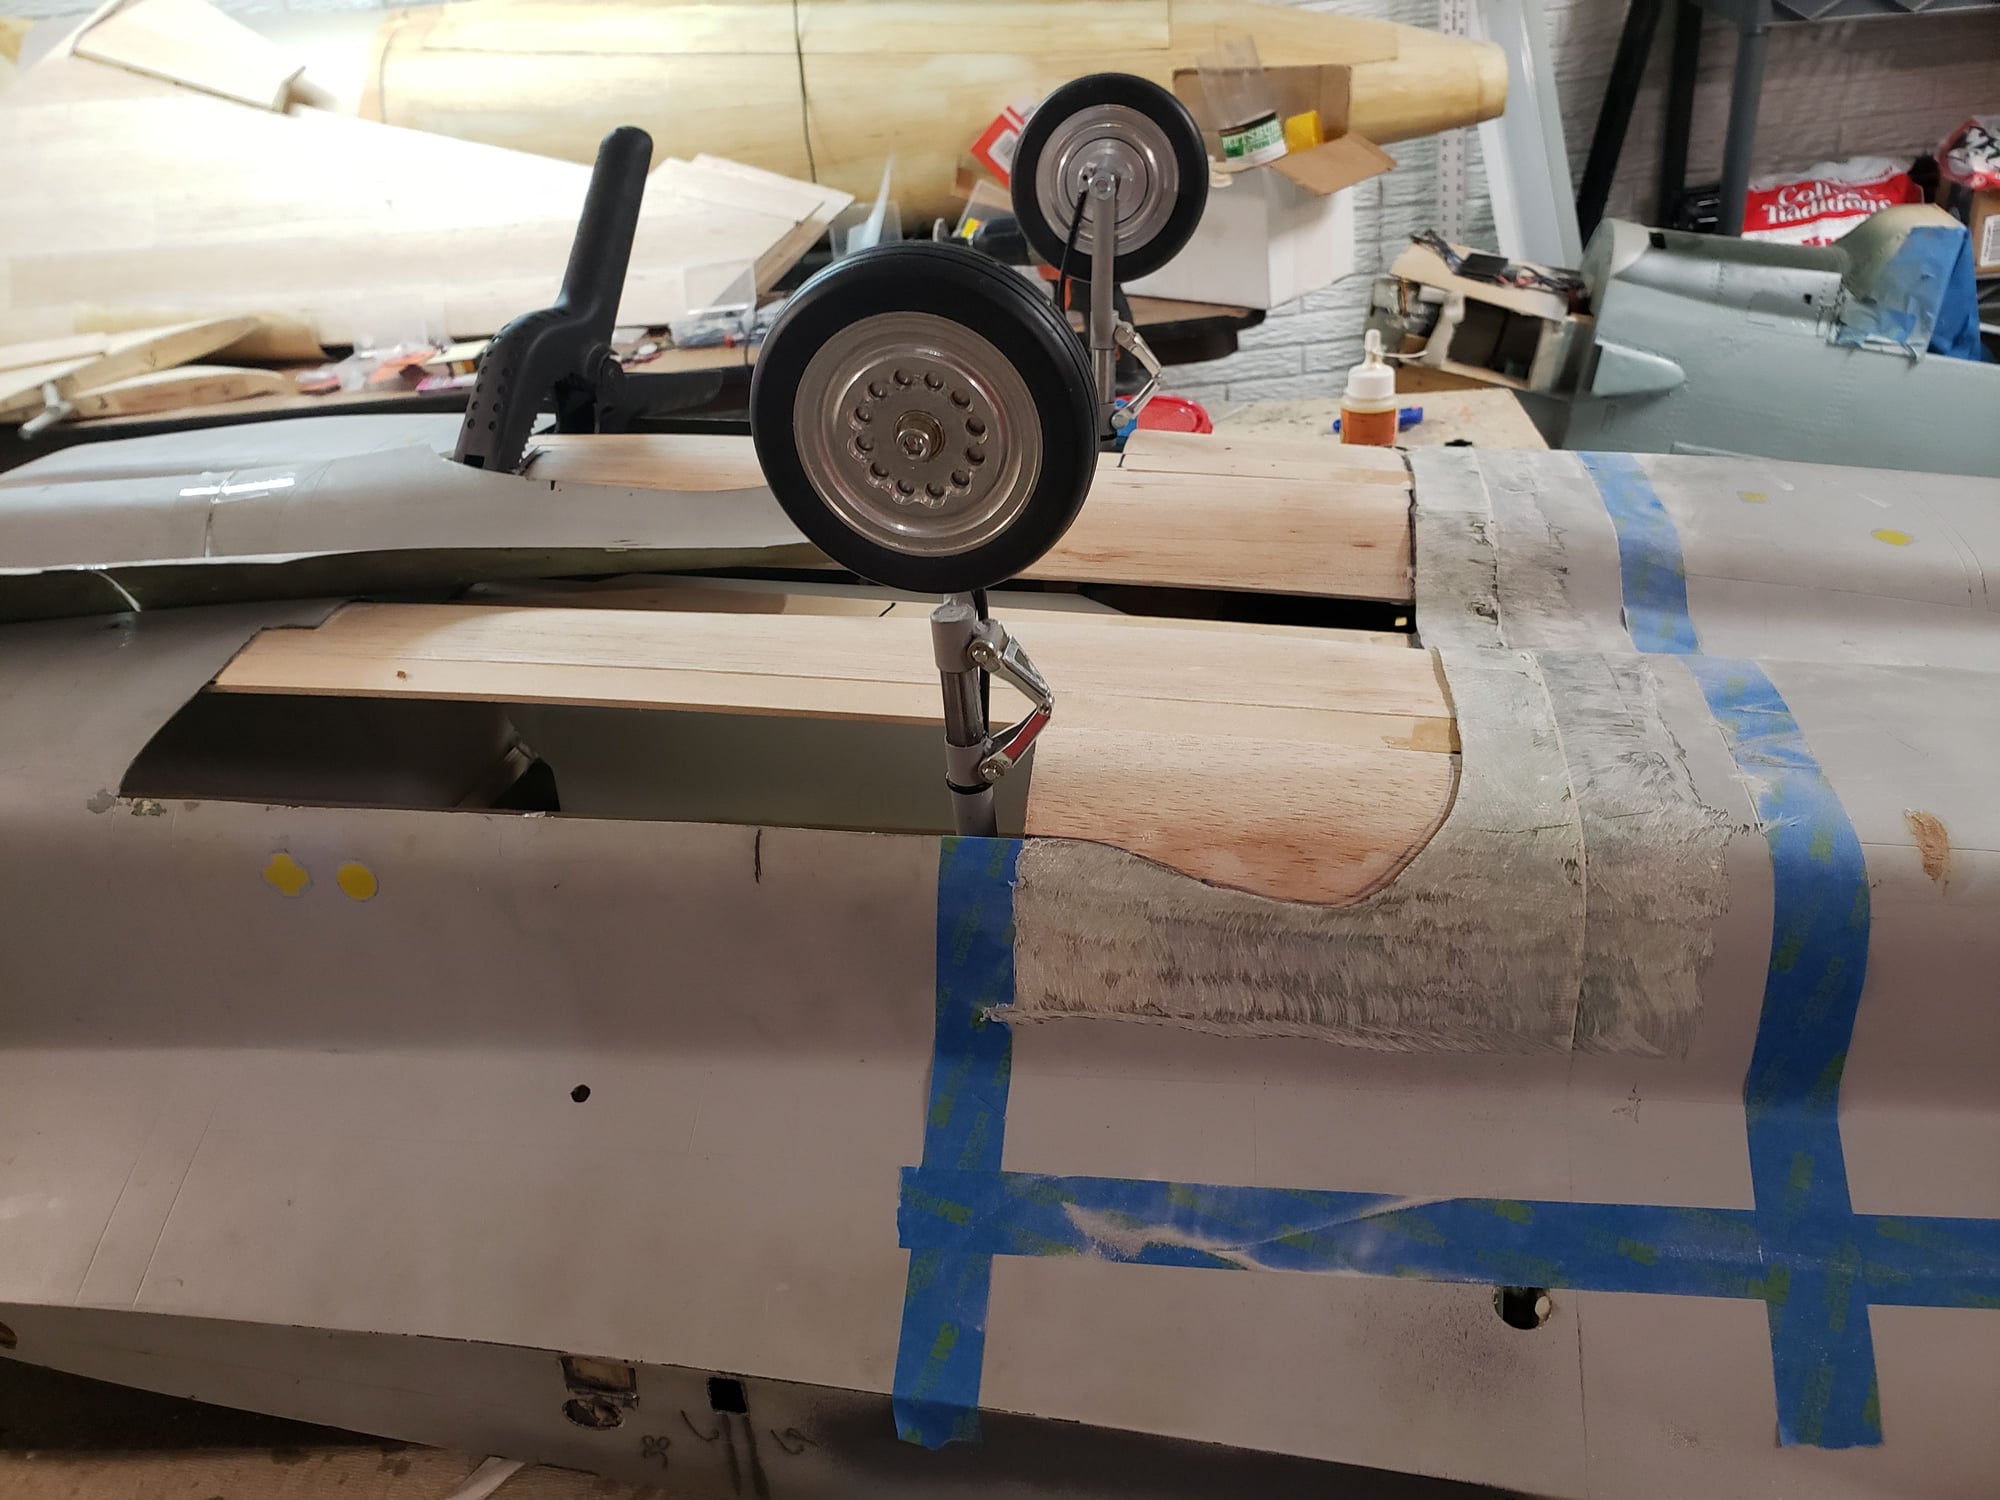
Did you do anything special to get the new hole level with the airfoil? Or just eyeball? Also, does anyone know who makes a more scale rotating set of main landing gear for a 92" long F15 like this? Skymaster's is too small.
Last edited by Pull Up Now!; 12-06-2019 at 06:10 PM.


 12-17-2019, 11:27 AM
#157

My Feedback: (34)
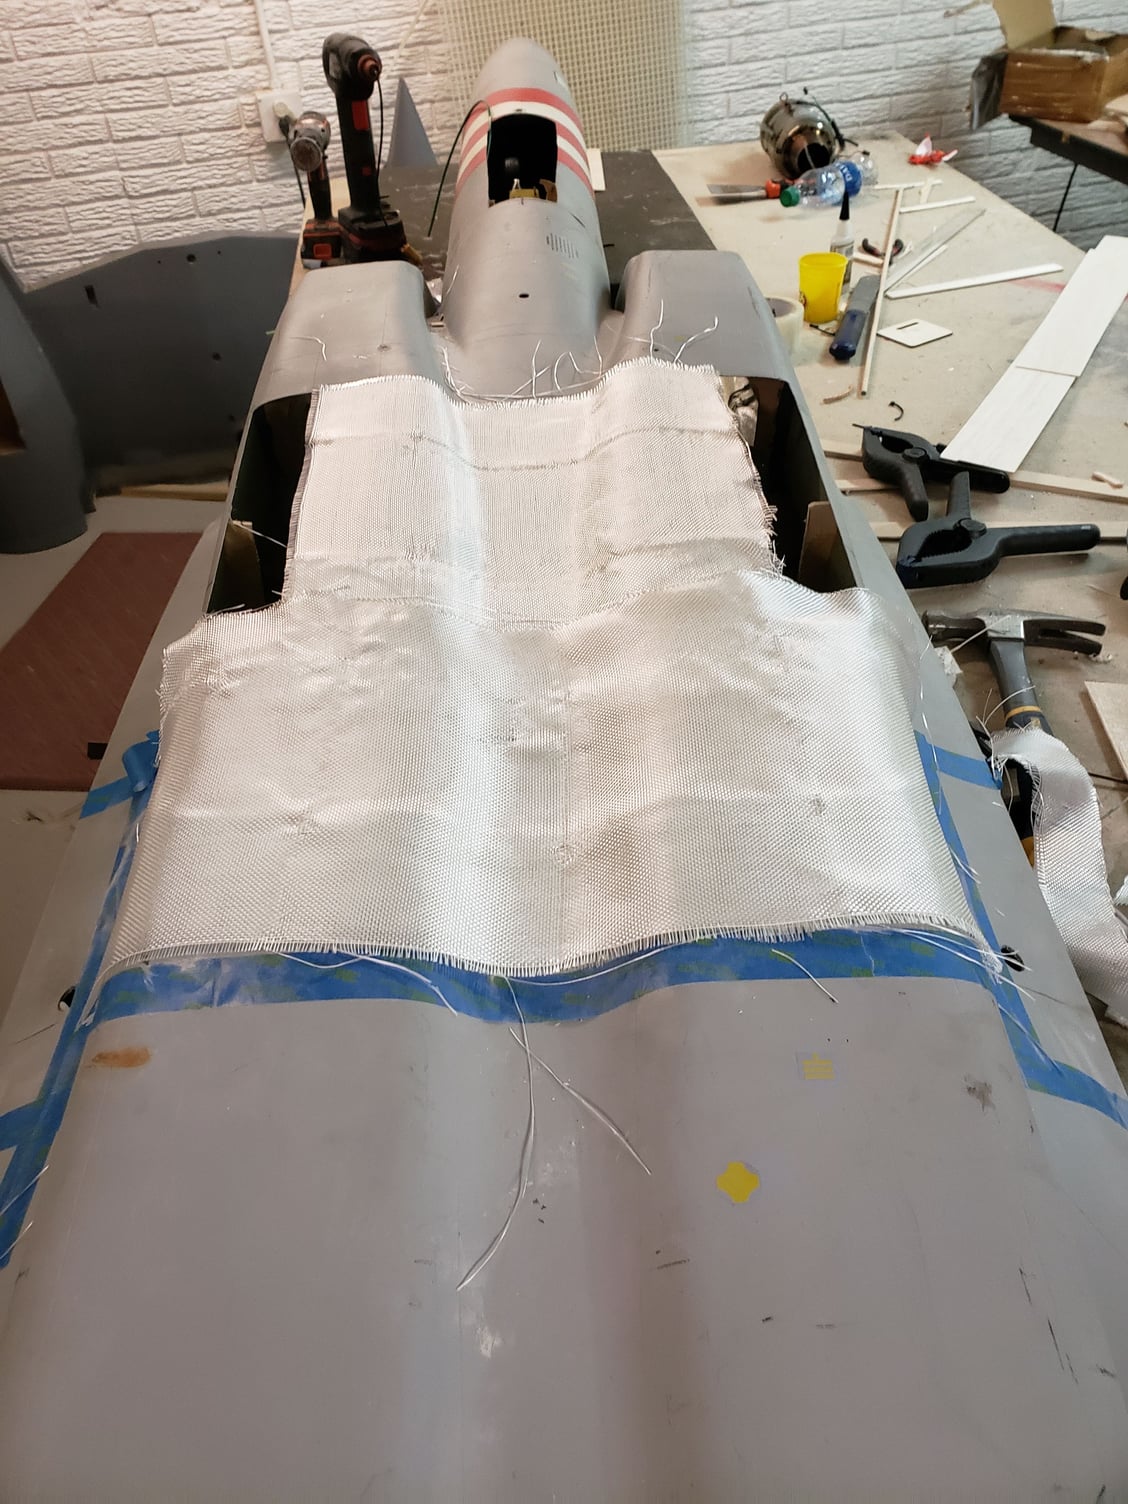
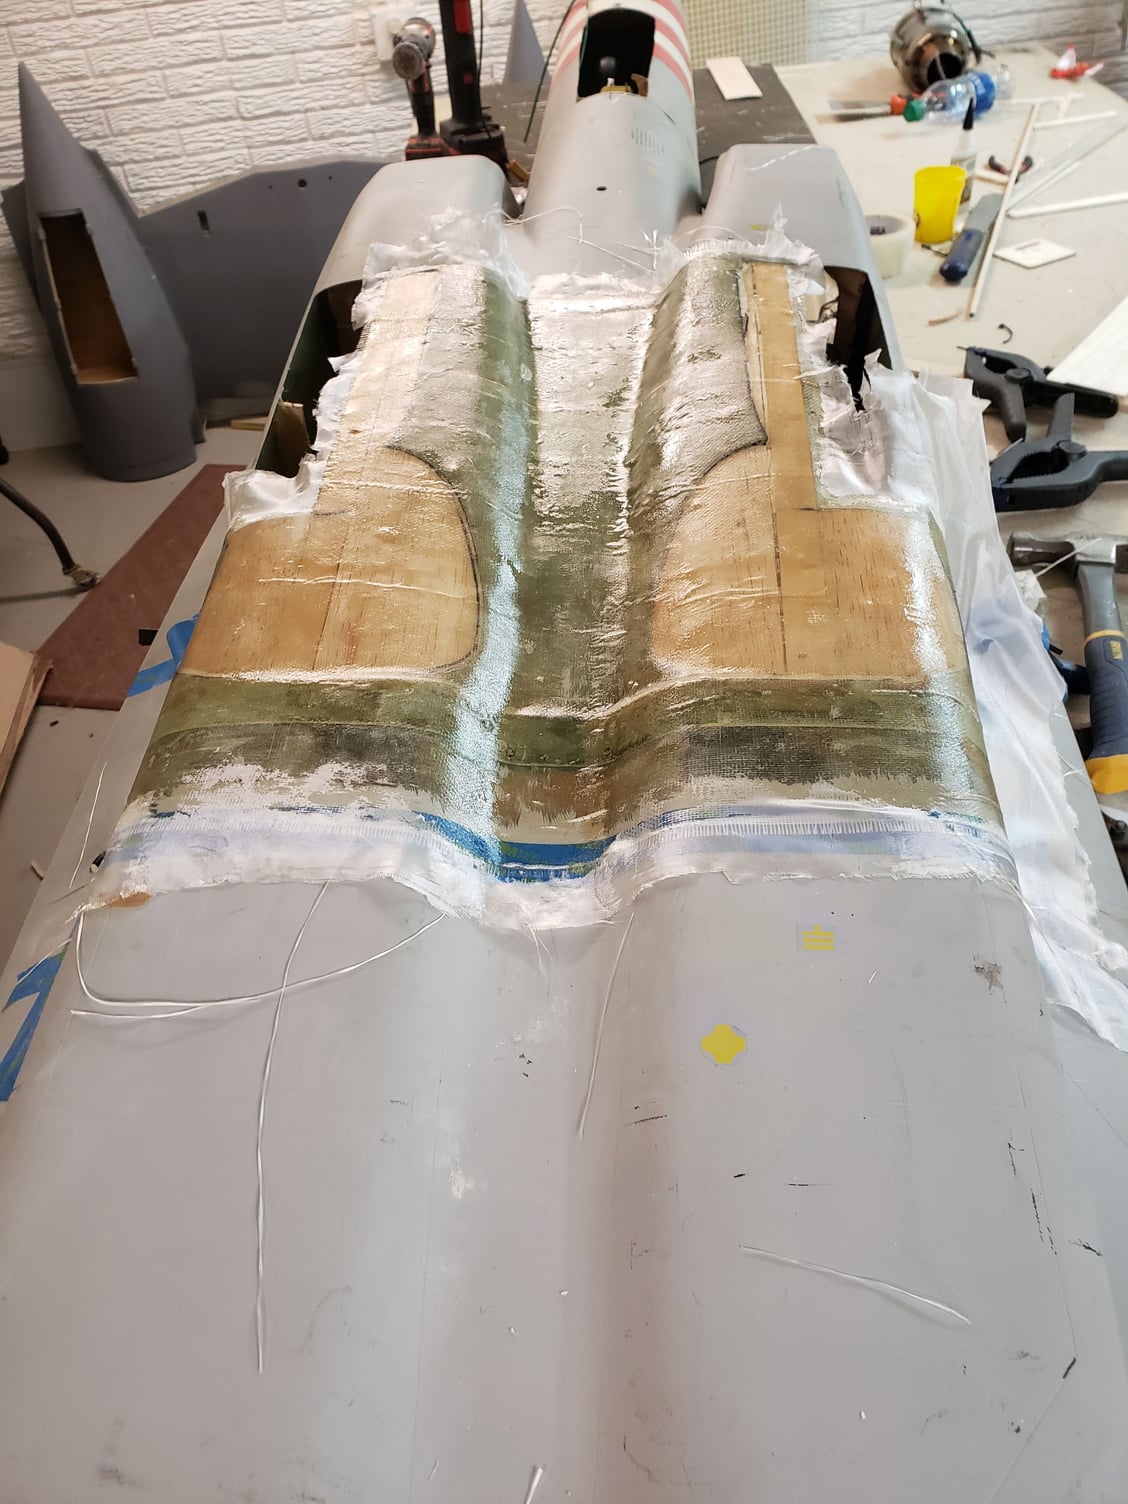
Well its fiberglass time, I normally use 1/2 oz cloth for my wood builds, but I wanted to add more strength in these foam parts, so I used 3/4 oz cloth, (Pluse getting 1/2 oz cloth is getting hard to find),
I did my uselly process I got from my buddy Mike Barbee, I mix my Z poxy (I'm being cheap I just ran out of my gallon West Systems epoxy) as required,(used one box of z Poxy for this one project) once mixed I add 1/4 of mixed amount of MEK epoxy thinner, then brush on the parts over glass. Once complete, I take a roll of very cheap toilet paper with no print on it, run it over the parts until there is not pooling or shinny areas on the parts, its amazing how much extra epoxy you can soke off that's not needed.
I did my uselly process I got from my buddy Mike Barbee, I mix my Z poxy (I'm being cheap I just ran out of my gallon West Systems epoxy) as required,(used one box of z Poxy for this one project) once mixed I add 1/4 of mixed amount of MEK epoxy thinner, then brush on the parts over glass. Once complete, I take a roll of very cheap toilet paper with no print on it, run it over the parts until there is not pooling or shinny areas on the parts, its amazing how much extra epoxy you can soke off that's not needed.
01-23-2020, 08:26 AM
#158
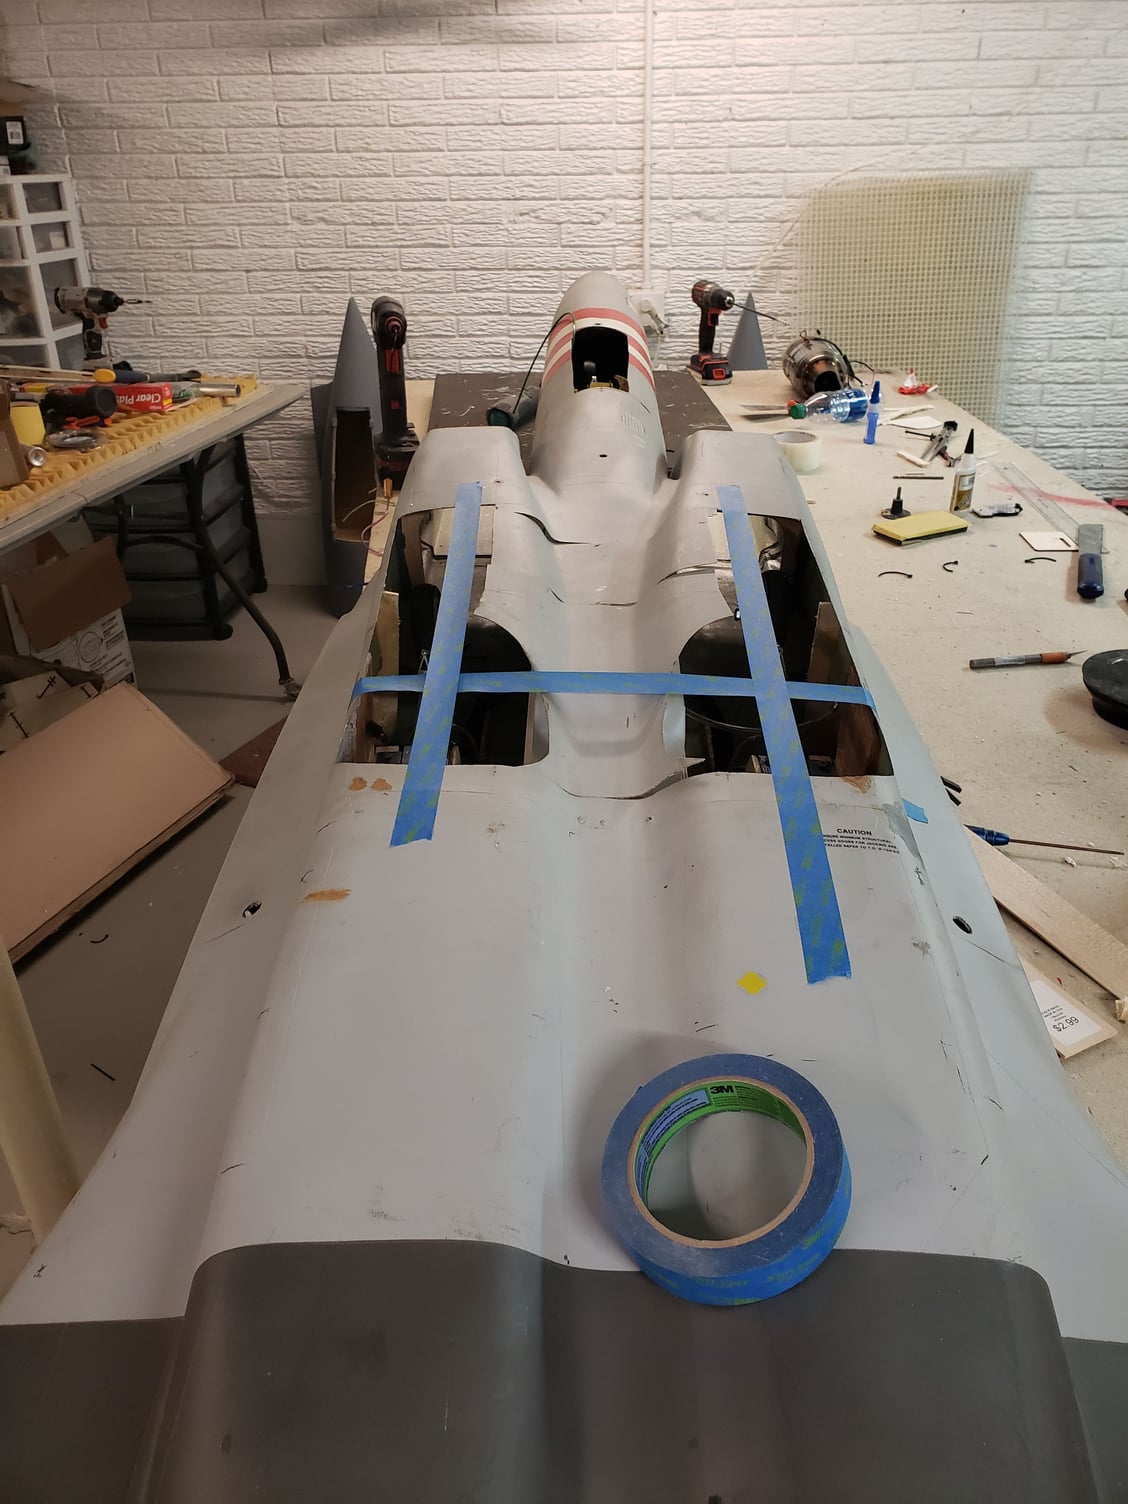
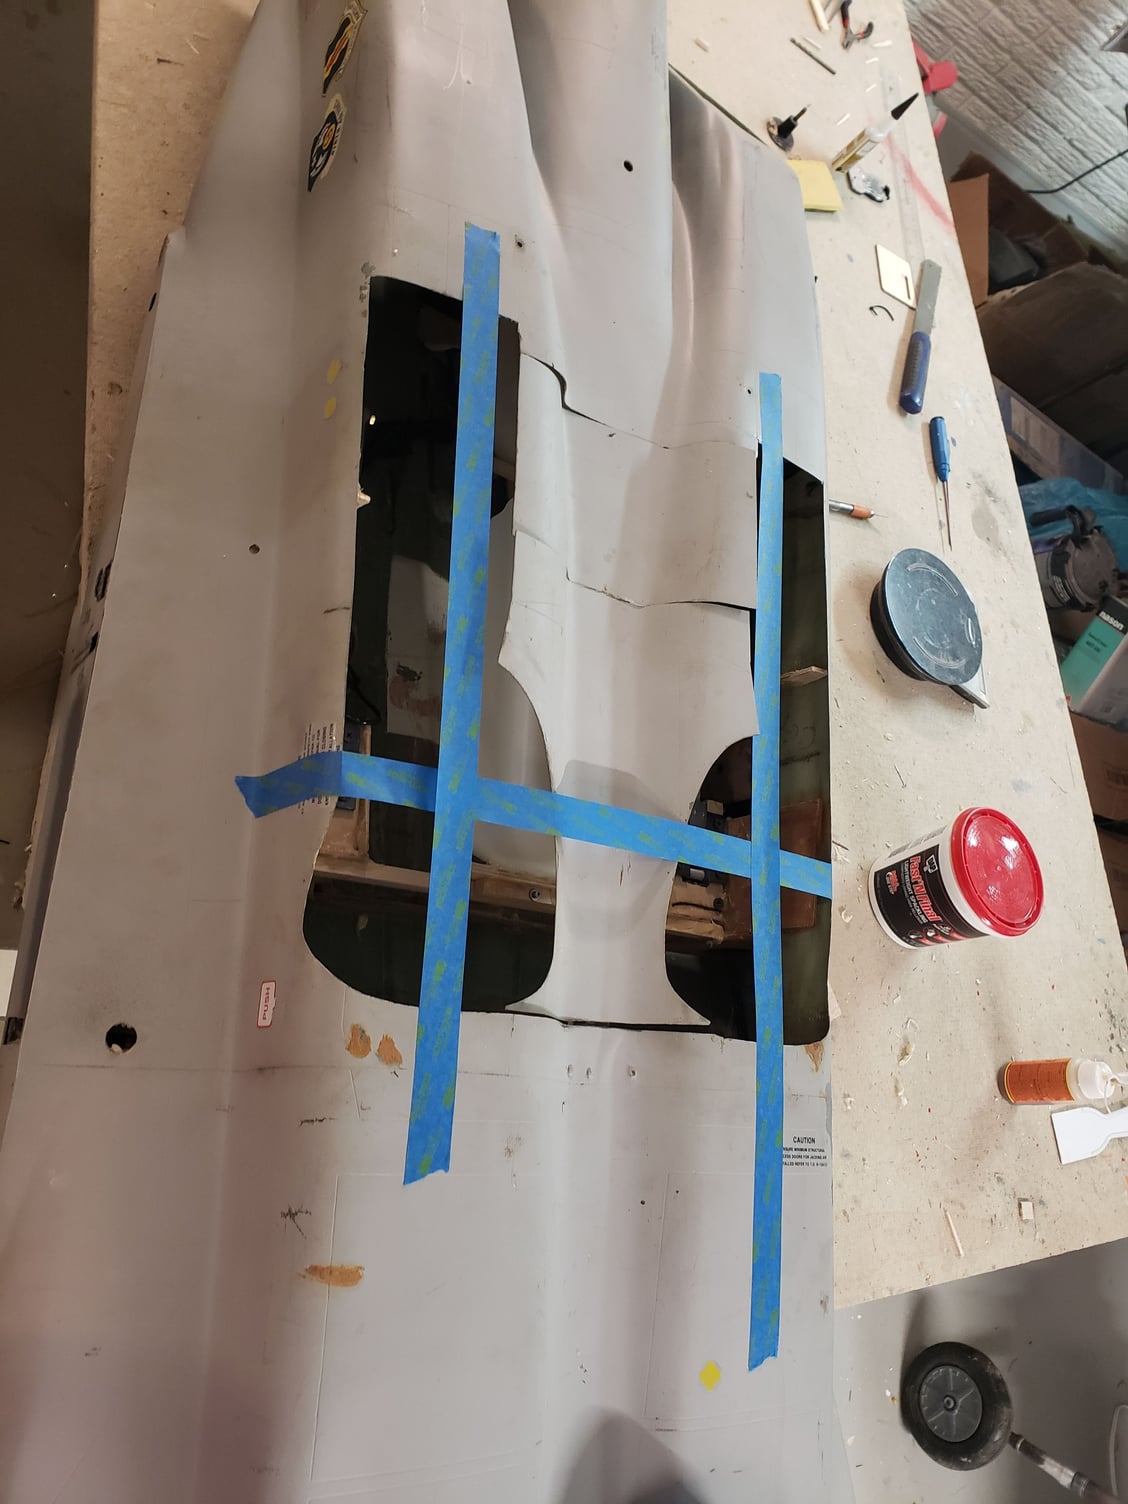
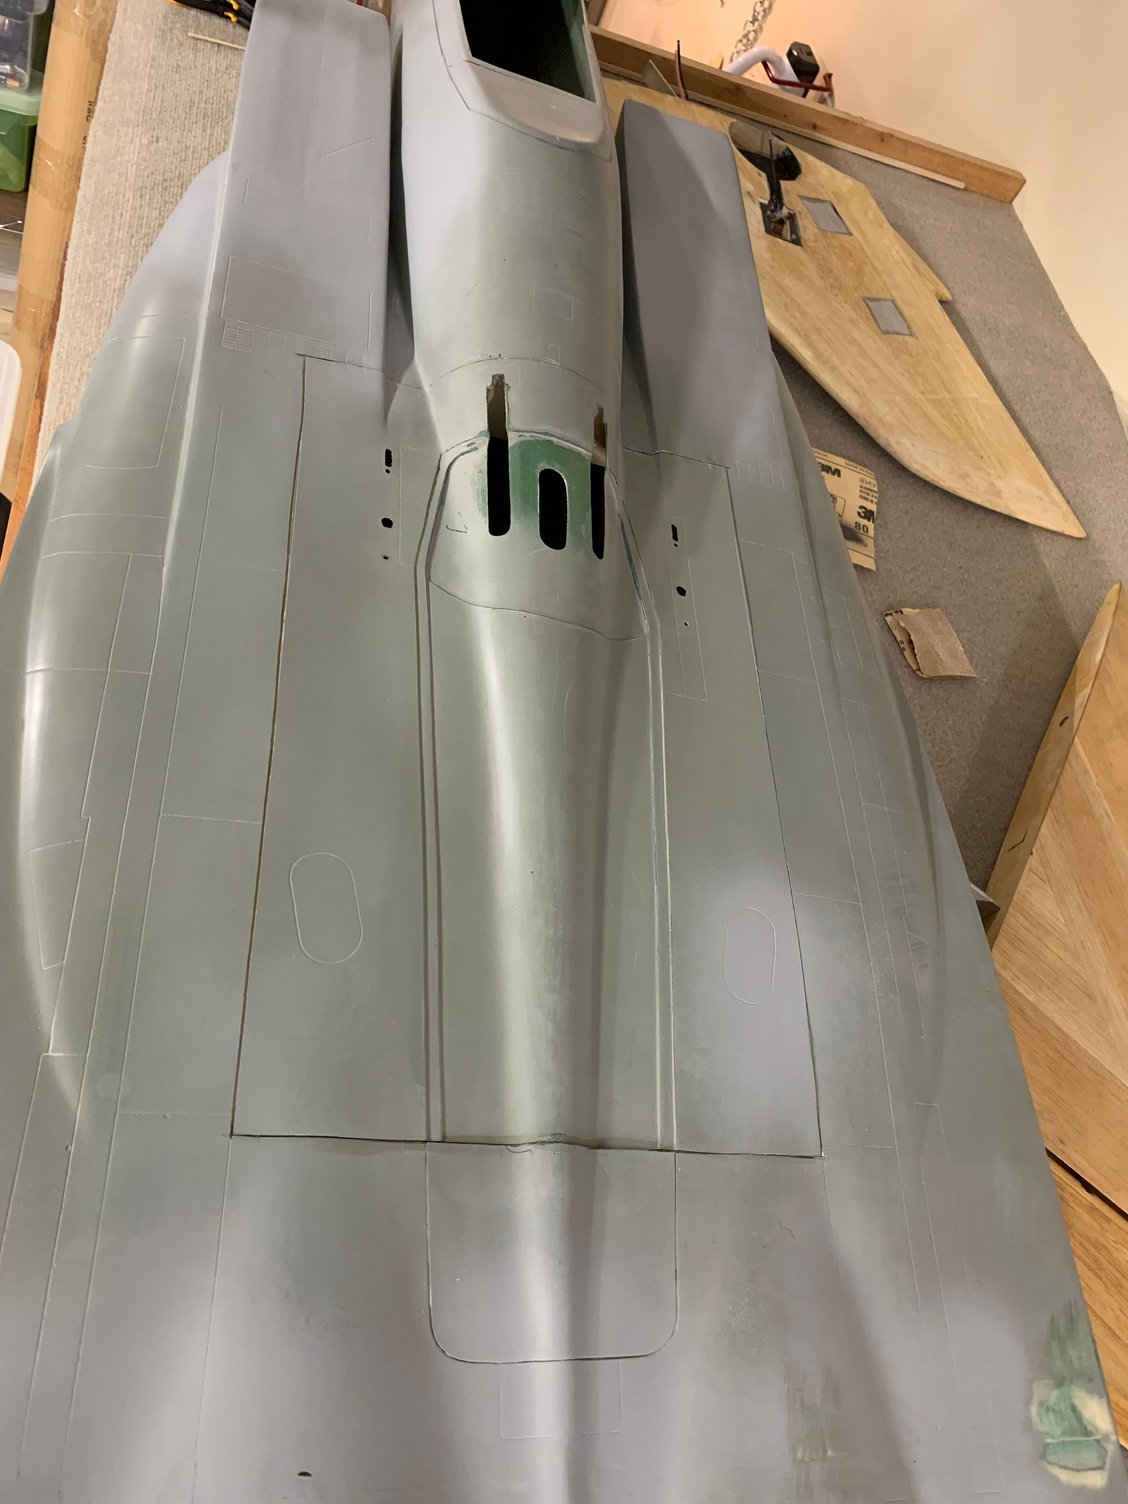
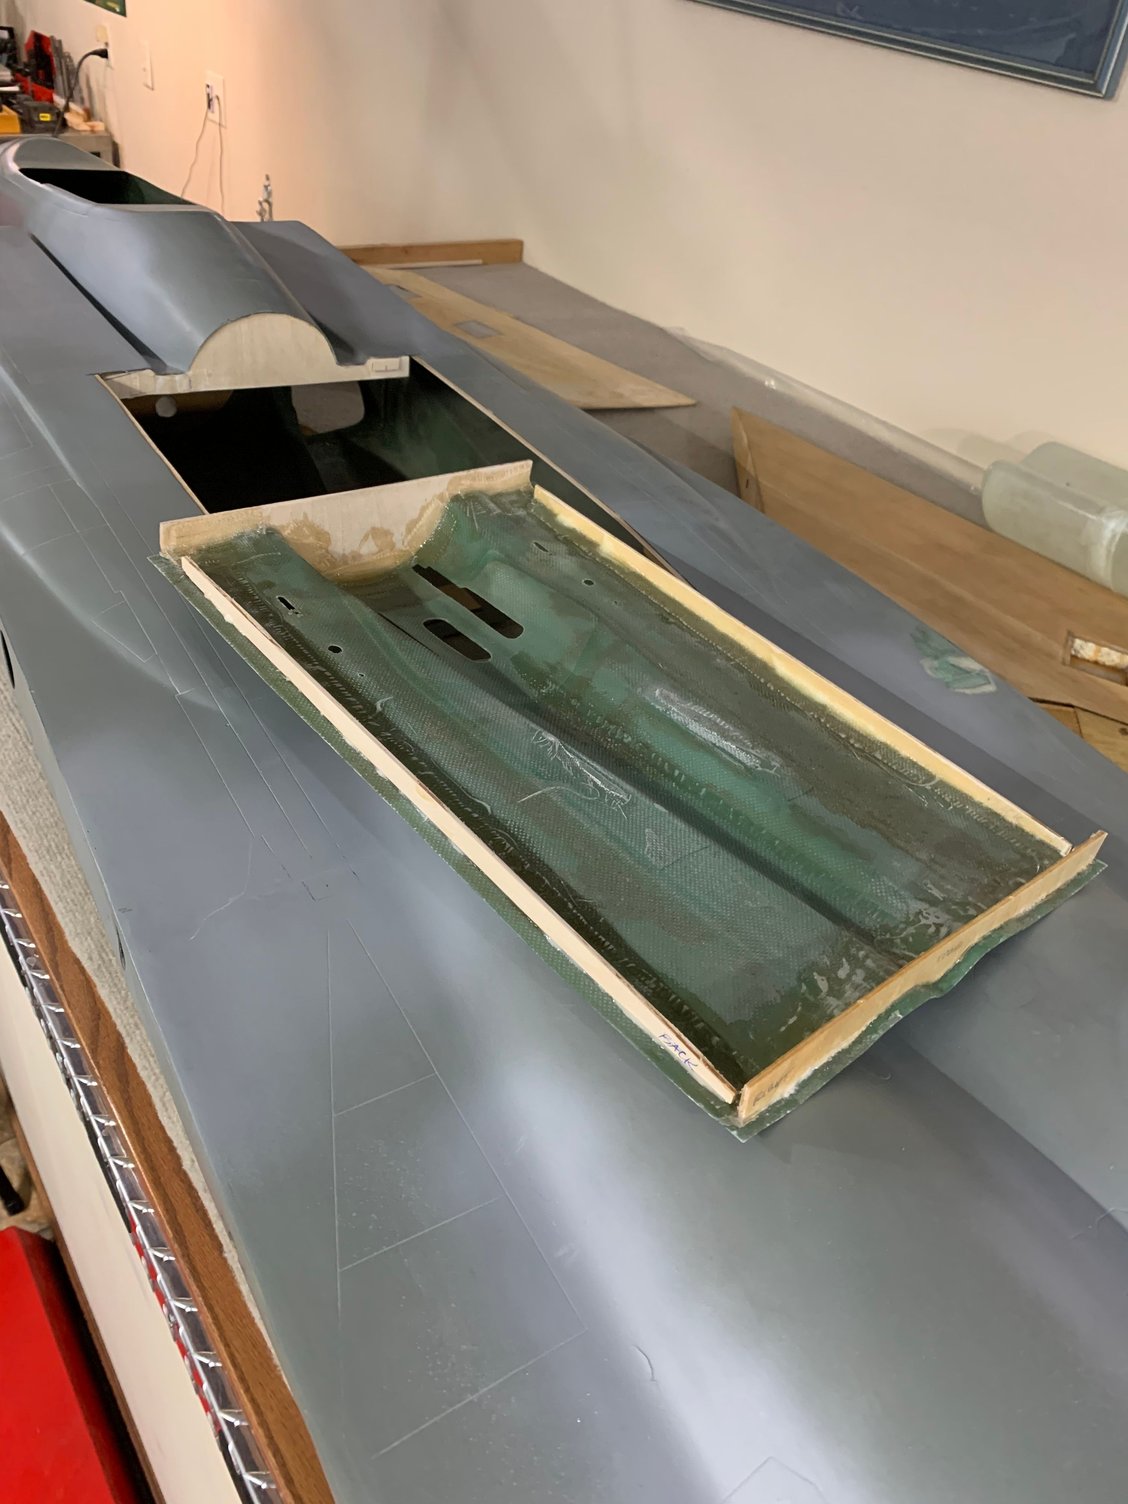
I lost a lot of build time to other projects, and the flu. But I�m back on the F15. I finally got the hatch cut, latches installed, and the thrust tube is finalized. Next, I�m filling in the cheater holes. I 3D printed a couple molds. As soon as the goop glue is set, I�ll flip the fuse, fill the corners with cavosil, then start glassing.


The following users liked this post:
mikes68charger (01-23-2020)
01-23-2020, 01:41 PM
#160
My Feedback: (34)
Great looking hatch there.
I finally got my K180G2 running correctly on Diesel last week, and its been sitting in my cold As grauge sinc .
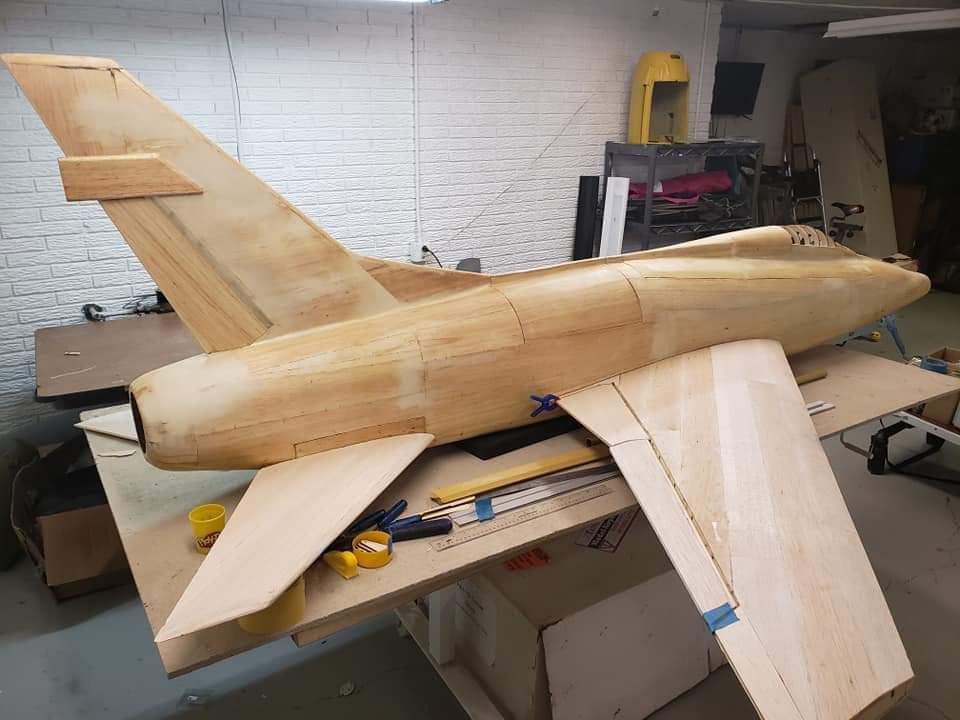
I'm at the fuse bodywork and adding pannels to the wing fase but my buddy who I paint my stuff at his house is gone for the next month, so I have be busting but on my all wood 112in long F100 jet to change it up

I finally got my K180G2 running correctly on Diesel last week, and its been sitting in my cold As grauge sinc .
I'm at the fuse bodywork and adding pannels to the wing fase but my buddy who I paint my stuff at his house is gone for the next month, so I have be busting but on my all wood 112in long F100 jet to change it up
01-23-2020, 02:51 PM
#161

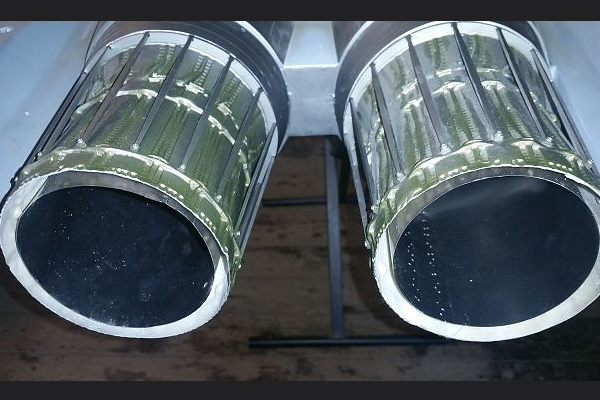
Why are you using that Y pipe ? It is really not needed.
I build a Feibao F-15 1/7 with only one straight pipe.
Here you can see what i have done ...
And here you can see the maiden flight ...
I build a Feibao F-15 1/7 with only one straight pipe.
Here you can see what i have done ...
And here you can see the maiden flight ...
Last edited by Eagle Driver; 01-23-2020 at 03:04 PM.
01-24-2020, 05:33 AM
#163
Why are you using that Y pipe ? It is really not needed.
I build a Feibao F-15 1/7 with only one straight pipe.
Here you can see what i have done ...
Feibao F-15 1/7
And here you can see the maiden flight ...
Maiden Feibao F-15 1/7
I build a Feibao F-15 1/7 with only one straight pipe.
Here you can see what i have done ...
Feibao F-15 1/7
And here you can see the maiden flight ...
Maiden Feibao F-15 1/7
01-24-2020, 09:21 AM
#164
Yes my main gears rotate.
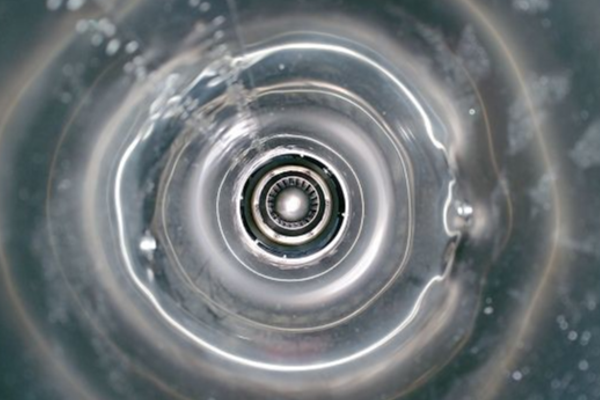
The pipe is a straight single pipe made by hammer engines.
In the right nozzle is only a 20cm long dummy to make it look better from behind.

The pipe is a straight single pipe made by hammer engines.
In the right nozzle is only a 20cm long dummy to make it look better from behind.
Last edited by Eagle Driver; 01-24-2020 at 09:50 AM.
01-24-2020, 10:26 PM
#167
Yes the gear is the original that comes with the kit
but Catherine from Feibao send stronger rotating pins.
There are absolutely no yaw effects. The turbine is
mounted with a angle from 3� to the centerline of the
fuselage.
This was not the first Eagle i`ve build with the single
turbine setup. They all have no bad habbits or yaw effects.
The big scratch build F-15 that was mentioned earlier in
this thread was also mine and had the single engine setup.
You can see the scratch build Eagle here ...
Last edited by Eagle Driver; 01-25-2020 at 12:45 AM.

The following users liked this post:
mikes68charger (02-21-2020)
03-07-2020, 03:06 PM
#171
the reason I as as when I got the measurments off Catherine at fb they were exactly the same length and depth of my Byron wings plus the fins are the same measurement and I mean exactly the same so it's possible all they have done is just stretched the fuz by 3 inches but kept wings and fins ect the same as it's like jet legends f15 is same fuz length as the Byron I'm looking for a set of flying surfaces for the byron
03-07-2020, 05:17 PM
#172
the reason I as as when I got the measurments off Catherine at fb they were exactly the same length and depth of my Byron wings plus the fins are the same measurement and I mean exactly the same so it's possible all they have done is just stretched the fuz by 3 inches but kept wings and fins ect the same as it's like jet legends f15 is same fuz length as the Byron I'm looking for a set of flying surfaces for the byron
03-07-2020, 05:23 PM
#173
Here is my latest effort. Reinforcing the elevators with a heavy rib, and replacing the weak alum tube pivot rod with a solid hardened tool steel rod. The pics are out of order, but you get the idea. Once the groove is filled, then the elevators will get fiberglassed with 3 oz glass. I have some 3 oz carbon fiber on order, but I don't know when I'll get it. Glass should be ok too though.
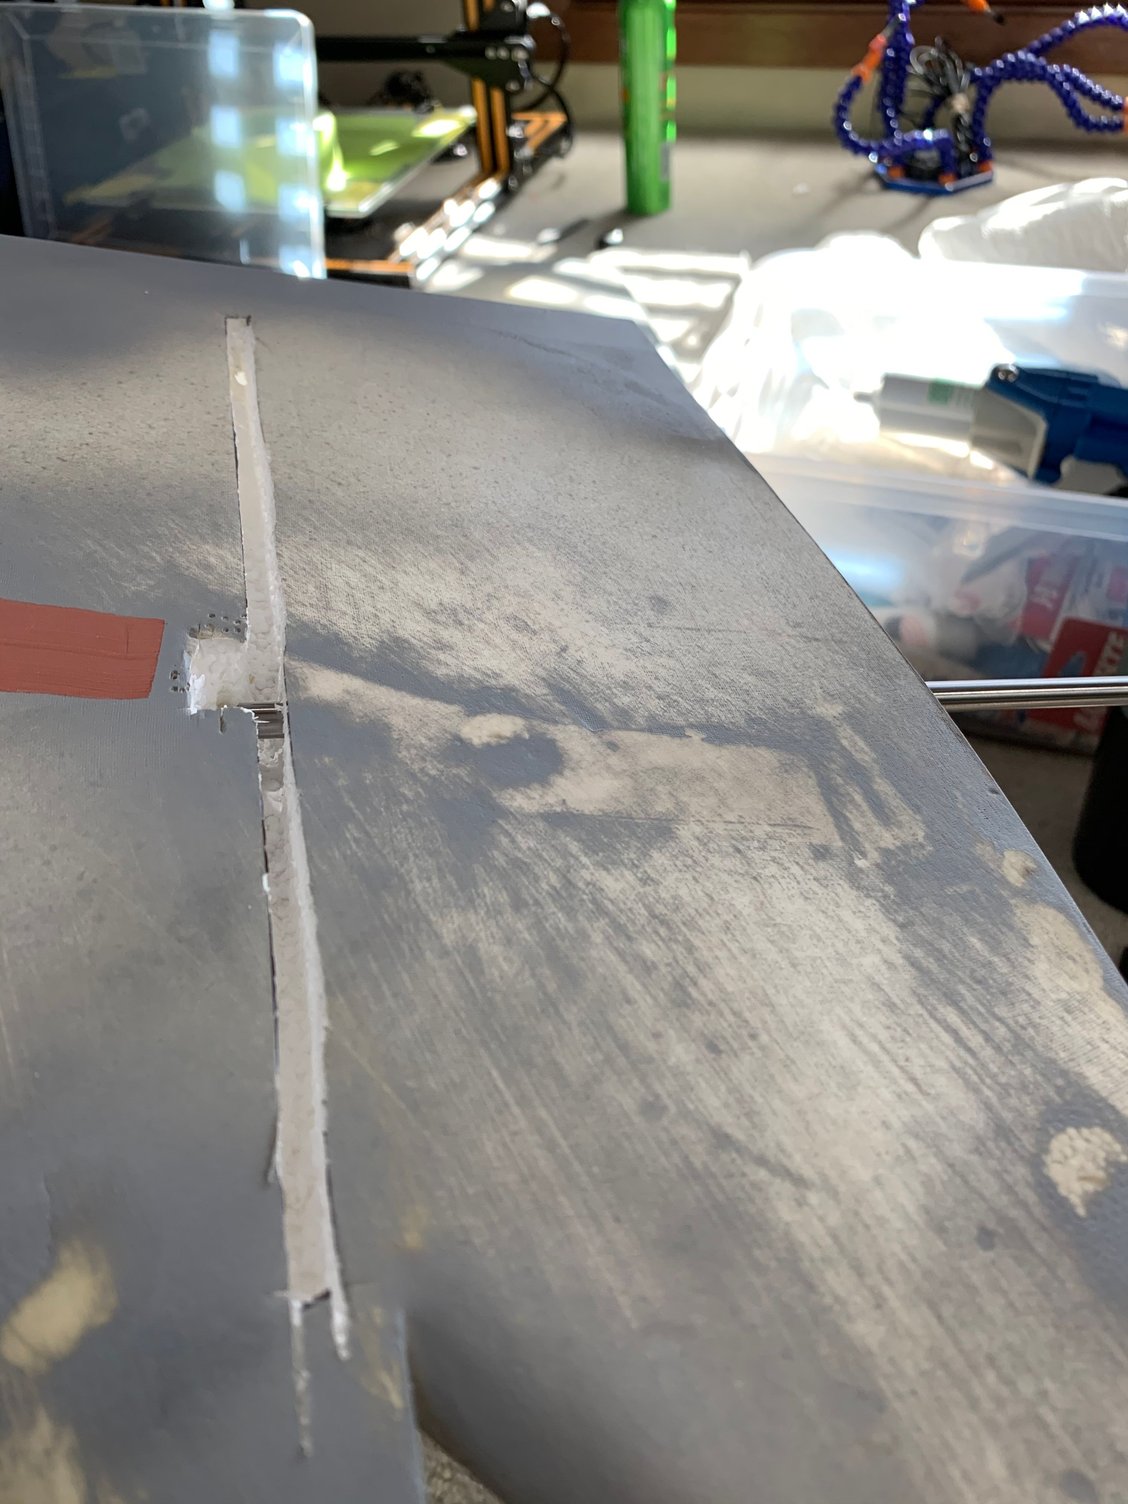
Cutting the slot in the foam

Drill the holes for the rod
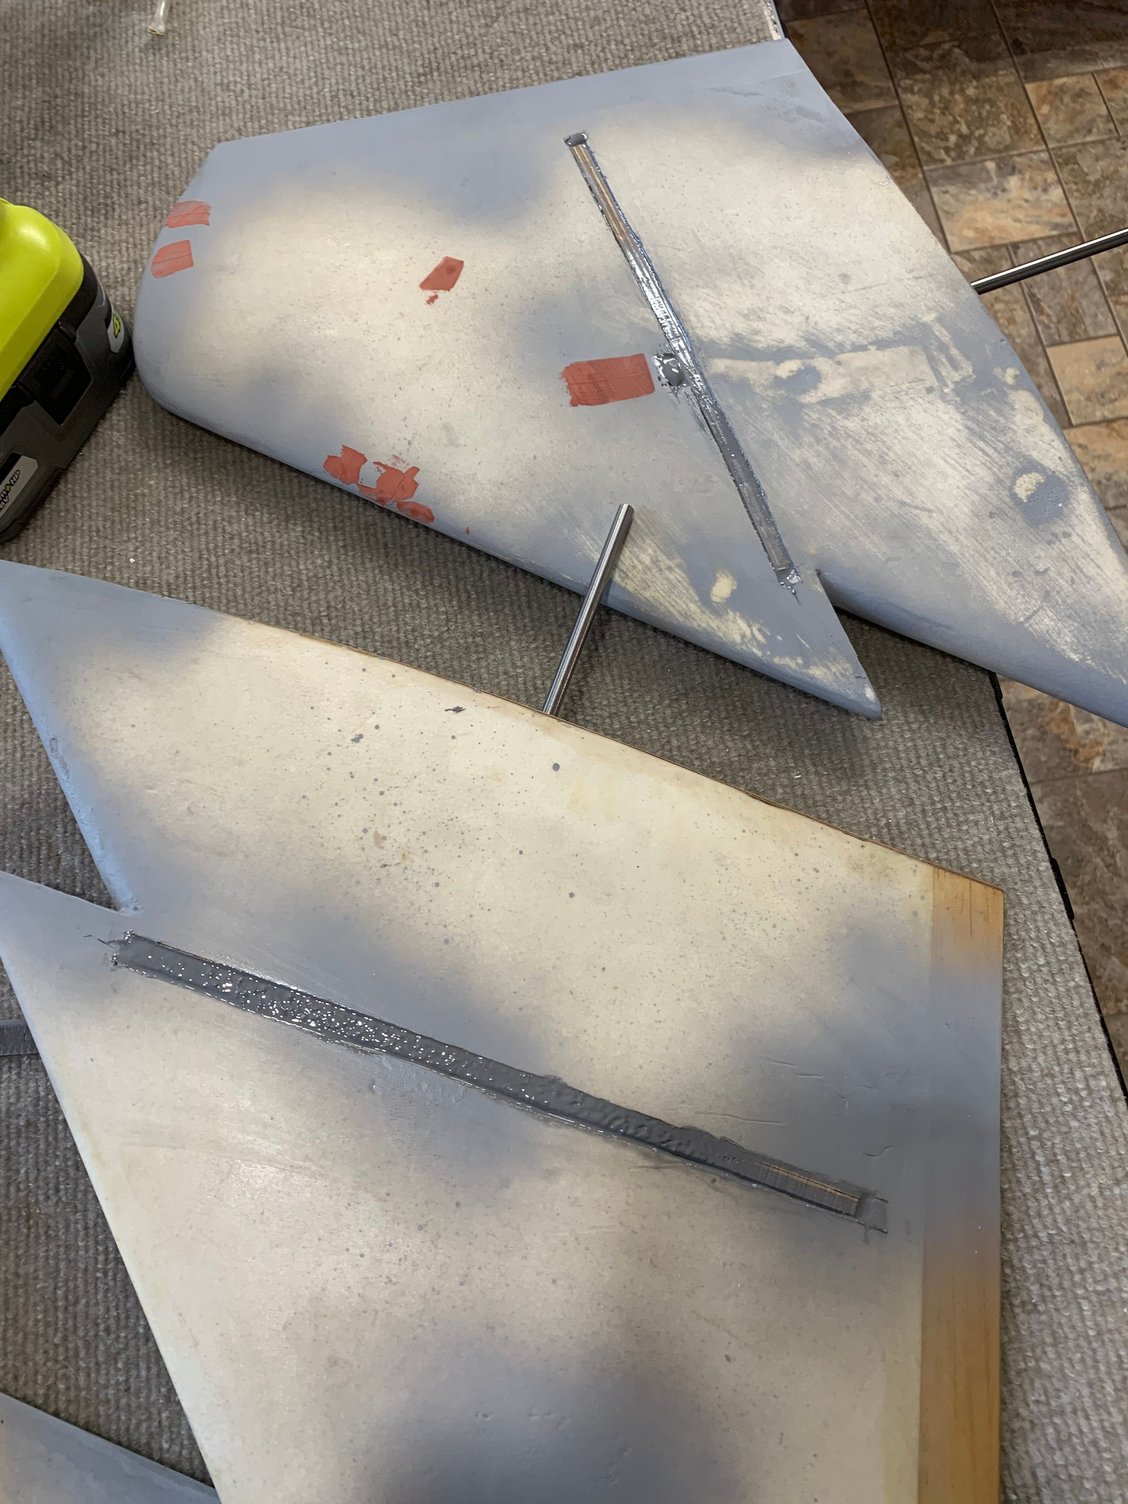
Glue the rib and rod in place
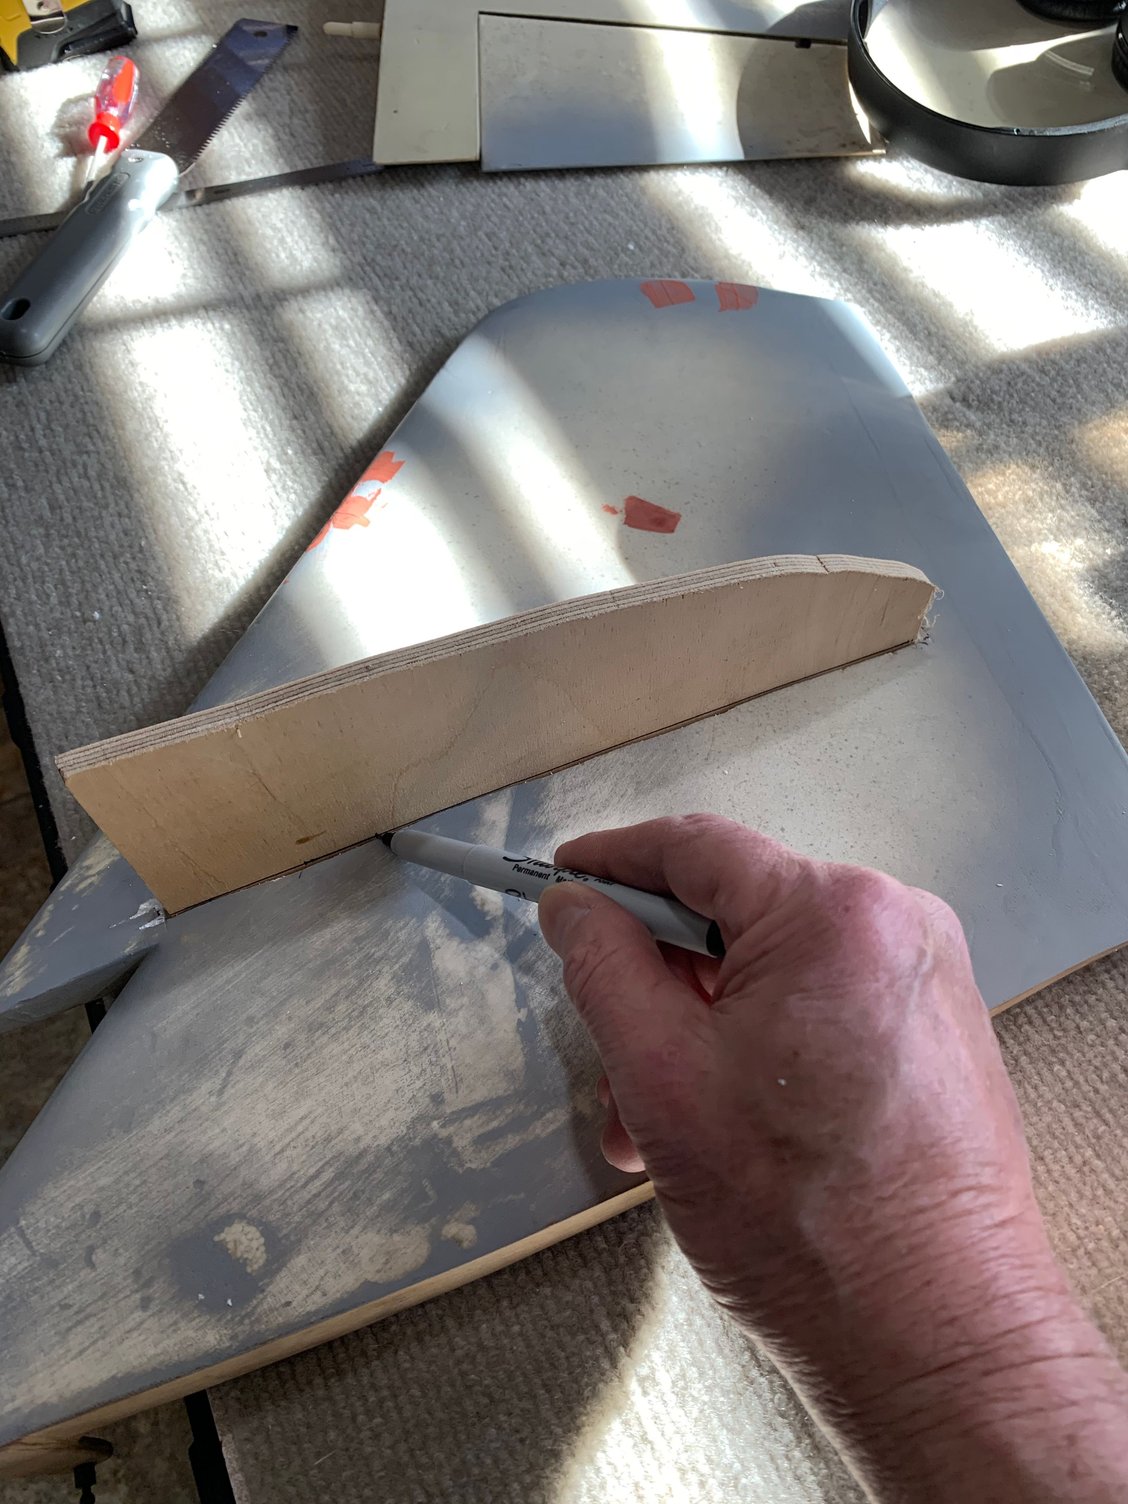
Trace the rib top surface
Cutting the slot in the foam
Drill the holes for the rod
Glue the rib and rod in place
Trace the rib top surface
Last edited by Pull Up Now!; 03-07-2020 at 06:01 PM.